Mercury 4-stroke oil change is the start of 100-hour service. On a Mercury four-stroke, engine oil weight and capacity can be found by reviewing the tag on the engine under the cowling cover, or by looking in your owners’ manual.
Shop Recommended Products
Before you start draining your old oil, take notice of the oil level on your dipstick. Lower the engine to the running position and remove the cowling. If your cowling latches feel stiff or sticky, apply a high-quality grease or spray lubricant and work the latches. For Verado owners, you may need cable replacement if the cowling has been overlooked too long.

Mercury color codes oil as yellow, so locate the dipstick and fill plug by looking for the bright yellow color. If the oil level is high on the dipstick, the oil might have been overfilled during the last service. Or, it's also possible that the engine is "making" oil due to fuel contamination of the oil from improper ring seating or another serviceable condition. If the oil level is low on the dipstick, your engine may be burning or leaking oil – both conditions you should investigate.
You should also note the smell and color of the oil. Dirty oil will appear dark brown to black, and a milky brown indicates water contamination. A pronounced gasoline smell indicates that your engine may not be reaching proper operating temperature, or that your rings could be allowing excessive blow-by due to carbon fouling or improper break-in.
Removing the Old Oil
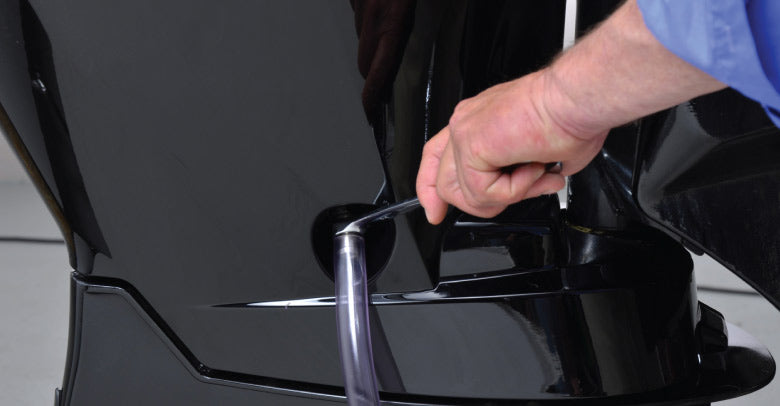
Spent engine oil can be removed from the engine by extraction or via the oil pan drain screw plug. The extraction method requires the use of a vacuum extractor which is inserted down the dipstick tube and uses suction to pull the spent oil from the pan. Oil extraction tends to be very clean and is probably the most widely used among marine technicians. Alternatively, the drain screw itself can be removed. Be sure to have plenty of drain pan capacity as some engines can hold up to seven quarts of oil. We also recommend an oil absorbent pad like the 3M HP156 pad to catch any errant drips that might soil your driveway or lawn.
In cold climates, it may be helpful to start and warm the engine before draining the oil to thin it slightly. However, if possible, perform the engine oil change as the first part of the service since the maximum amount of oil will be in the oil pan already from the engine sitting allowing you to extract as much old oil as possible to minimize contamination of your fresh oil.
Removing the Old Oil Filter

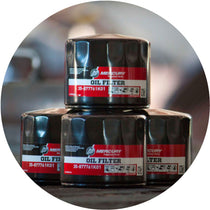
As the old oil is draining, you can work on removing the engine oil filter. Depending on your specific Mercury model, your filter may have a drain lip that helps to keep the mess to a minimum when you unscrew the old filter. However, most older engines do not have this feature. We suggest being prepared with plenty of absorbent rags or placing a small cup that is cut to size below the filter before removal. Using a PartsVu Maintenance Essentials filter wrench is the best way to loosen the filter. Remember when you reinstall the filter, over-tightening will only make your life more difficult when you are ready for the next service. Some technicians puncture the old filter allowing trapped oil to drain back into the block before removal, but this will ruin your ability to take the filter apart for further inspection.
Performance Testing of Used Oils Provide Important Insights
Several laboratories provide performance testing of used oils, allowing you to learn more about the health of your engine. Blackstone Labs is one such provider, and they have a convenient mail-in kit that includes everything you need to submit an oil sample. They can also test gear oils, hydraulic fluids, and oils from your other vehicles or toys. Oil test results can tip you off to an accelerated wear condition inside of your engine long before any other symptoms show up. If you still want to know more about your engine, purchase an oil filter cutter and open the spent filter to look for evidence of contamination and metal dust or shavings.
Install New Oil Filter and Add Fresh Oil
Once you have inspected your spent oil and filter, set them aside for proper disposal. If you removed the drain screw to empty your oil, carefully reinstall the drain plug. The new oil filter should be removed from its package and the o-ring lubricated with a thin coat of fresh engine oil. Spin on the new oil filter and gently tighten to seat the o-ring without over-torquing.
Mercury Marine offers a wide assortment of engine oil – both in blend and viscosity. If you are uncertain as to which oil is best for your application, consult your owners’ manual. Loosen the yellow oil fill plug on the top of the engine and pour in fresh oil. We recommend adding slightly less than the stated capacity. With the engine trimmed down, check the oil level on the dipstick after allowing a few minutes for the oil to drain into the oil pan properly. Filling the oil to the lower level on the dipstick will help you to measure if the oil level changes over time with the engine in operation.
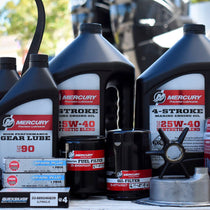
For full maintenance, check out our Mercury Outboard Maintenance Kits to keep your boat running smoothly.
Download the Full Maintenance Guide - How to Perform 100-Service on a Mercury 4-Stroke Outboard




2 comments
Thank you for the advice
This article states 100 hour service oil change. It’s pretty much the same as changing each winter storage season correct?