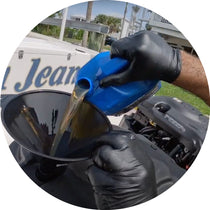
Owning a Yamaha outboard comes with the responsibility of ensuring it runs optimally through regular maintenance and prompt repairs. At times, proper outboard care includes a deep dive into its core components. One of the integral parts often requiring attention is the Yamaha lower unit (also referred to as the gear case).
Whether for routine maintenance, detailed troubleshooting, essential repairs, or even a total replacement, removing the gear case becomes an indispensable skill for every outboard owner. This guide provides a step-by-step process to efficiently and safely remove and replace your Yamaha outboard’s gear case. It ensures you’re well-equipped to keep your motor in peak condition.
In the video embedded within this article, the Yamaha lower unit removal and replacement was performed on a Yamaha F115 outboard. However, this guide applies to all Yamaha outboard motors.
What You'll Need for the Job
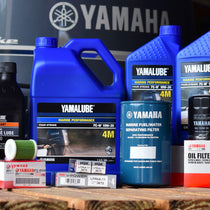
- Yamalube Marine Grease
- Socket wrench
- Screwdriver
- Needle Nose Pliers
The Importance of Yamaha Lower Unit Maintenance
The lower unit of a Yamaha outboard, often referred to as the “gear case,” is a pivotal component that ensures the seamless operation of your boat. Regular maintenance of this unit is essential for several reasons:
- Performance and Efficiency: Just as you’d service your car’s engine to keep it running smoothly, your Yamaha lower unit requires regular maintenance to achieve peak performance. Proper care ensures optimal gear alignment and lubrication, translating to efficient power transmission and fuel economy.
- Longevity: Routine checks and care can significantly extend the life of the gear case and its associated components. Over time, elements such as water intrusion or oil degradation can compromise the integrity of the gear case. By staying proactive, you can prevent wear and tear and avoid costly replacements.
- Safety: A malfunctioning lower unit can be a safety hazard. It might result in decreased boat control or even complete breakdowns in the middle of a trip. Regular maintenance can help in the early detection of potential issues, ensuring a safe boating experience.
- Cost-Effective: While regular maintenance might seem like an added expense, it is far more cost-effective in the long run. Addressing minor issues before they escalate prevents expensive repairs or replacements.
- Resale Value: A well-maintained Yamaha outboard can command a higher resale value if you ever sell your boat. Prospective buyers often look for solid maintenance records, and a gear case in excellent condition is a testament to your diligence as an owner.
In essence, Yamaha lower unit maintenance is not just a task on a checklist; it’s an investment in your boat’s health, safety, and performance. Whether you’re a weekend boater or a seasoned mariner, understanding the significance of gear case care can significantly enhance your boating experience.
Recommended Service Intervals for Yamaha Gear Case
Servicing the gear case of your Yamaha outboard is crucial to ensure its longevity and optimum performance. But how often should you undertake this task? Let’s delve into the recommended service intervals.
- Initial Service: For a brand-new Yamaha outboard, we advise you to check the gear case after the first 20 hours of operation. This initial check helps identify unforeseen issues during the engine’s break-in period.
- Regular Maintenance: After the initial service, it’s generally recommended to service the gear case every 100 hours of operation or annually— whichever comes first. More frequent checks might be necessary for boaters who frequently navigate in saltwater due to the harsher conditions.
- Visual Inspections: Besides the routine service intervals, inspecting the lower unit after each use is good practice. Look for signs of oil leakage, propeller damage, or foreign objects lodged in the unit.
- Seasonal Checks: If you’re in an area with distinct seasons, especially where boating is a seasonal activity, consider servicing the gear case at the beginning and end of each boating season. Seasonal maintenance checks ensure that your outboard is prepped for storage and ready to deliver peak performance when the new season begins.
- After Unusual Events: If the outboard has hit a submerged object or been run aground, inspecting and possibly servicing the gear case, even if it’s outside the regular maintenance window, is imperative. Such events can lead to internal damages that aren’t immediately visible.
Remember, the above recommendations serve as general guidelines. Always consult your Yamaha outboard’s owner manual or a certified Yamaha technician for model-specific advice. Regular maintenance of the gear case not only prolongs the life of your outboard but also ensures safety and peak performance on the water.
Step-by-Step Guide: Removing the Gear Case from Your Yamaha Outboard
To perform this job, you will need:
- Yamalube Marine Grease
- Socket wrench
- Screwdriver
- Needle Nose Pliers
Prepare the Outboard:
- Safely secure the outboard.
- If you have the engine trimmed up, you shouldn’t worry about the gear case falling out. However, be cautious if it isn’t sufficiently inclined.
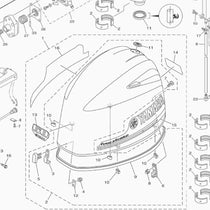
Removing the Gear Case Bolts:
- Before starting, locate the bolts that secure the gear case to the outboard.
- Carefully and gradually remove each bolt using an appropriate tool (usually a socket wrench). Ensure that you keep these bolts in a safe place, as you’ll need them when reinstalling the gear case.
Loosening the Gear Case:
- The gear case might adhere firmly to the motor housing over time. If it doesn’t detach easily, gently tap on the gear case using a tool to help dislodge it. Alternatively, insert a screwdriver in a non-intrusive spot to gently separate the gear case from the motor housing.
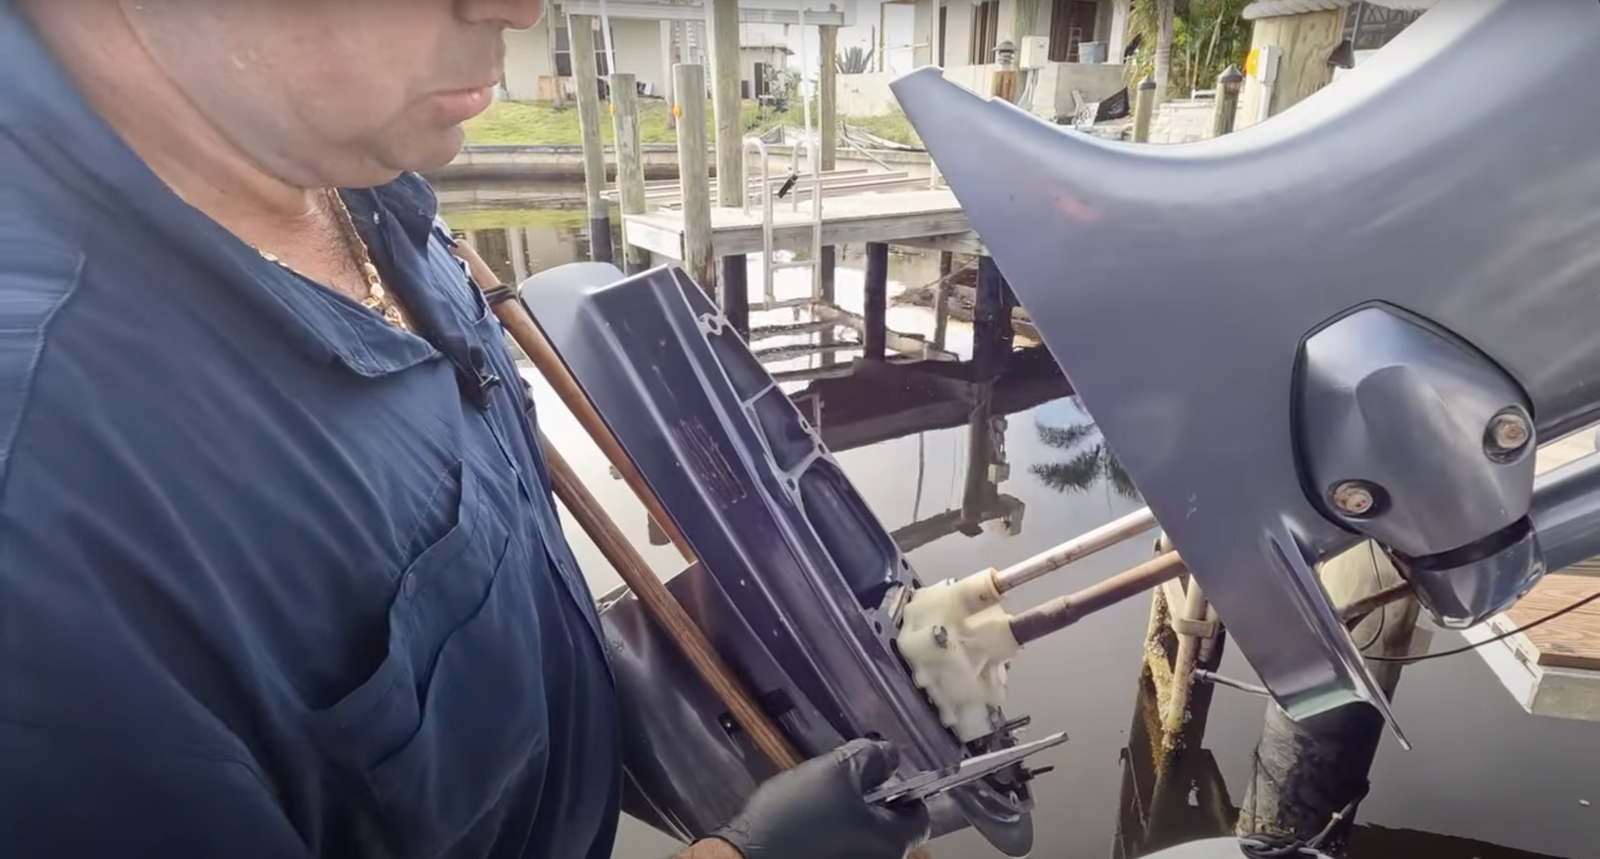
Lowering the Gear Case:
- Begin to lower the gear case from the motor carefully. Ensure you have a firm grip and steadily lower it to avoid damage. Before you fully lower the gear case, detach the speedo tube as outlined below.
Detach the Speedo Tube:
- Carefully begin to disconnect the speedo tube.
- When attempting to pull out the tube, using needle nose pliers, give it a gentle twist to move the rubber and break it loose. Avoid directly pulling without the twist. Remember, the Speedo tube motor connection is delicate and can snap easily. Be gentle when handling it. This tube allows your speedometer to gauge your boat’s speed.
Complete the Removal:
- Once all connections are detached, carefully pull down the gear case until it’s free from the outboard.
Check the Gear Position:
- After removal, make sure it’s still in neutral. The gear case can shift out of neutral if it is accidentally bumped. You may have to turn the prop shaft to ensure it remains in neutral.

Replacing the Gear Case
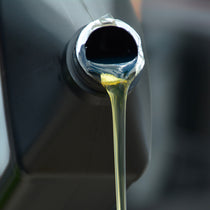
Thoroughly grease
- Grease all friction points, including bolts.
Prepare for Installation:
- Double-check that the outboard is still in neutral.
Reattach the Speedo Tube:
- Reattach your speedo tube so you can have speed and fuel diagnostics.
Align the Gear Case:
- Ensure the shift shaft is appropriately aligned. Achieving proper alignment requires a touch of finesse to get it right.
Secure the Gear Case:
- Gently lift and align the gear case into its position.
- Once it’s in place, secure it using the previously removed bolts. Start by threading one bolt to hold the gear case in position, ensuring everything correctly aligns.
Finalize the Installation:
- Double-check all connections to ensure that they are tight and correctly positioned.
By following these steps, you can successfully remove and replace the gear case in a Yamaha outboard. As with all maintenance tasks, consult your Yamaha owner’s manual for model-specific guidelines and recommendations.
In Closing: The Path to Outboard Excellence
Maintaining your Yamaha outboard lower unit isn’t just a procedural task—it’s a commitment to ensuring your boat’s longevity and top-tier performance. By adhering to the recommended service intervals and paying keen attention to the subtle signs your equipment shows, you safeguard your investment and promise yourself countless hours of seamless boating adventures.
The sea or lake is a place of joy and relaxation; with a well-maintained outboard, you ensure it remains that way. So, prioritize your gear case maintenance, and let every journey on the water be as smooth as the first. PartsVu is proud to carry all of the Yamaha outboard parts and products you need to maintain your Yamaha outboard.
**Important Note**
Always consult your engine’s owner’s manual for instructions and information specific to your engine. Consult a Yamaha-certified mechanic if you need clarification on replacing the gear case.
PartsVu and Platinum Mobile Marine Partnership
Huge thanks go to Frank Cutri, the owner and operator of Platinum Mobile Marine, a mobile mechanic service serving the Lee County, Florida area, for partnering with PartsVu on the Boat Maintenance Matters series. We are working hard to build a library of step-by-step instructions on common outboard motor repair and maintenance tasks.