Top categories


T-H Marine Boating Essentials Products Resources and Information
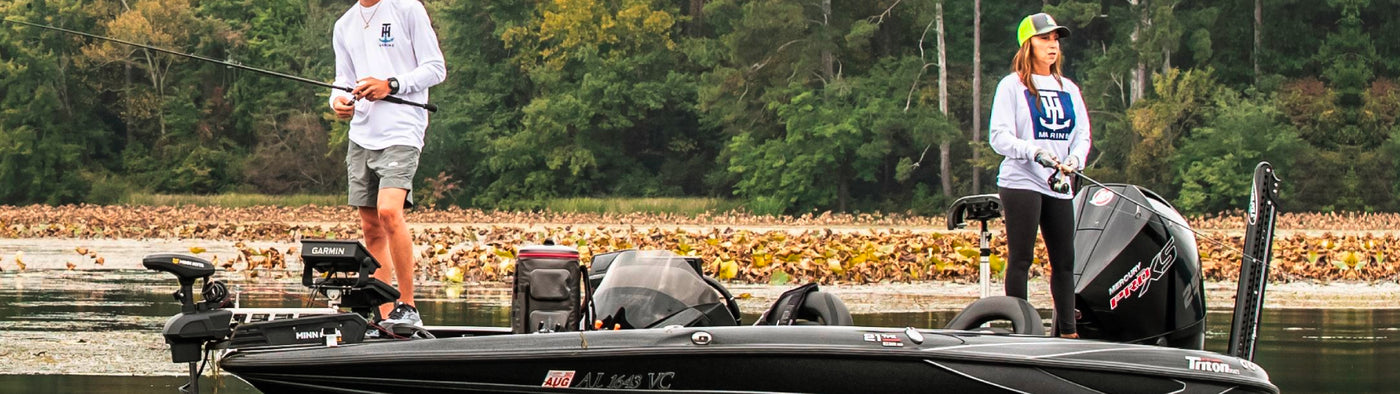
T-H Marine produces thousands of products in many categories, including outboard motor mounts, outboard tilt and trim, access hatches, deck plates, lid locks, deck hardware, livewell aeration, plumbing fittings, battery trays, fishing rod holders, boat lights, rigging accessories, trolling motor accessories, pontoon boat parts, and general boat accessories.
Browse PartsVu’s broad selection of marine products and accessories, or shop T-H Marine boating products by category, including:
- Boat Docking and Anchoring
- Marine Batteries and Electrical
- Boat Lighting and Hardware
- Oil and Fuel Systems
- Boat Hardware and Plumbing
- Boating Safety Supplies
- Boat Trailering Essentials
- Accessories and Boat Upgrades
Boating Essentials by T-H Marine FAQs
How does the T-H Marine Eliminator install?
Installation is simple: remove your existing prop nut and washer, then hand-tighten the Eliminator so that it is firmly pressed against the face of the prop. There is a gasket on the back of the Eliminator that will expand in time, so be sure to not overtighten.
Will the Eliminator fit on my trolling motor?
The Eliminator prop nut fits Minn Kota trolling motors above 80lbs using our GFEL-MK-** part numbers, Minn Kota trolling motors below 80lbs using our GFEL-MKS-*** part numbers, and Motorguide using our GFEL-MG-** part numbers. NOTE: This does not include aftermarket props used on these trolling motors -- we can only guarantee that our Eliminator is manufactured to fit props made by the respective manufacturer of the trolling motor.
There is a yellow mineral-type build up on my Eliminator -- what causes this?
This is caused by electrolysis. To reduce weight and maximize noise reduction, we use aluminum for this piece and, if electrolysis occurs in your boat, the first place it will show is the softest metal, which is typically aluminum.
If you notice this on your Eliminator, take your boat to your local dealership immediately for assistance. We will not replace eliminator prop nuts that have been damaged due to electrolysis.
What is T-H Marine's warranty policy?
T-H Marine Supplies, Inc. warrants to the first retail purchaser of its products that T-H Marine Supplies, Inc. will replace or repair the product, at its sole discretion, if any defects in material or workmanship are reported within the applicable warranty periods set out below from the date of the first retail purchase, subject to the remedies, exclusions, and limitations in this Limited Warranty. This limited warranty is effective for all T-H Marine Supplies, Inc. products purchased after January 1, 2007.
- ATLAS Hydraulic Jack Plates*: Relay Harness — 1 Year; Actuator mechanism – 3 years; Jack Plate Frame – Life of Boat (for the original purchaser)
- ATLAS MICRO JACKER: 1 year all-around warranty
- BLUE WATER LED lights have a Limited Lifetime Warranty described below
- All other T-H Marine Supplies, Inc. products: 1 year
Should I Travel with my HydroWave Mounted on my Boat?
In short, we recommend that you always disconnect and safely stow your HydroWave when trailering and traveling with your boat.
The HydroWave unit is designed to be waterproof during normal boating conditions, including rain, however, driving on the road adds excessive amounts of stress to the unit, and it can force moisture in and increase the chances of breaking the seal.
What are the sounds that the HydroWave makes?
All of the sounds produced by the Hydrowave are naturally occurring sounds of the following: Shad clicks (natural sounds that shad make as they school in a passive mood. Gill flairs (natural sounds that predatory fish make when sucking in prey. These sounds are similar to humans taking in a big breath but much more violent and aquatic in nature). Swim bladder pops (natural sounds made during the crushing of a prey fish’s swim bladder). Crushing sounds (Predatory fish have crushers at the opening of their throat that are used to crush and disable prey. Sounds made by these crushers are violent and very audible in an aquatic environment). Regurgitation (Often a predatory fish will gorge on bait when schooling. Once their prey is disabled they will regurgitate it and suck it back in as they swallow the previously eaten prey). Fleeing noises (As bait flees its attacking predator it will make distinct sounds and vibrations that reflect prey in a panicked mode).
What sounds should I use with my HydroWave and when?
This question is very complex and will require some experimentation on behalf of the user. We have provided a laminated field use card for reference. The short answer is “Mimic your environment”. Fish will respond more positively to a natural sound indicative of the current environment. The more aggressive an environment the more aggressive sounds should be used. The more passive and environment the more passive sounds should be used. Be a predator and pay close attention to the environment and mood of the fish and mimic it with your Hydrowave.
How do I adjust my Hot Foot for a higher idle or to open the throttle more at top end?
There is a bolt with a jam nut on the back of the Hot Foot that controls how far forward or “open” the foot pedal will go and there is a bolt with a jam nut on the front of the hot foot that controls idle or how far “open” the hot foot is when it is pulled all the way back.
***Always make sure to check with your local dealership before modifying how far the cable will go. Over extending the cable can cause it to break. Most motor companies recommend using a computer to calibrate this. Check with your local dealer and motor company first. ****
Will the Hot Foot work with my throttle cable?
The Hot Foot is built to work with all OEM motor cables. Simply select your manufacturer from drop-down menu on our Hot Foot product page. PLEASE NOTE: The Mercury Gen 2 is not compatible with the same Hot Foot unit as other Mercury motors. Instead, if you have a Mercury Gen 2, choose the Honda-Yamaha-Chrysler-Suzuki option from the drop-down menu on our ordering page.
How do I install the Loc-R-Bar properly?
The Loc-R-Bar attaches to the boat using two stainless steel inserts that are screwed onto either side of the gunnel wall. The Loc-R-Bar Alarm System Installation can be as easy as following these steps detailed below.
Prepare by gathering the required tools:
Power Drill
Phillips Screwdriver
1 3/8″ Hole Cutter
STEP 1: Place the Loc-R-Bar on the boat deck, midway across storage lockers to be secured.
STEP 2: Extend the Loc-R-Bar to the inside walls of boat.
STEP 3: While in the supplied aluminum mounts, place the lock in the Loc-R-Bar and bring the Loc-R-Bar to the top of the sidewall.
STEP 4: Hold aluminum mounts flat against the interior walls with either screw down. Place the ends of the Loc-R-Bar into aluminum mount. This procedure requires two people.
IMPORTANT: Be sure that the Loc-R-Bar and aluminum mounts are STRAIGHT, LEVEL, and FIRMLY held against the interior walls of boat.
STEP 5: Mark the sidewall of the boat below the single screw on the aluminum mount. This provides the vertical location for hole placement.
STEP 6: Be sure to check for any wiring as you drill holes. Also, always install brackets as low to the deck as possible. With these two considerations in mind, drill a hole into the sidewall with a drill flat on the deck of the boat. This will allow hole to be slightly above the deck.
STEP 7: Place the aluminum mount in the hole. Mark the two screw holes and remove the aluminum mount. Drill starter holes for screws. Then, place aluminum mount in hole and tighten screws till snug.
STEP 8: Extend the Loc-R-Bar into the mounts and lock.
Will the Loc-R-Bar work on my boat?
The Loc-R-Bar will work on your boat if you have the deck space required for the unit and you also have a flat surface on the gunnel with room to install it.
For the Loc-R-Bar to fit across the deck of your boat, you need a maximum deck width of 88” and minimum deck width of 61”. For the inserts, you need a 2” minimum height and a 3” minimum width.
PartsVu is proud to offer a wide selection of essential boating products from T-H Marine. T-H Marine is a leading manufacturer of boat parts and boat accessories.


