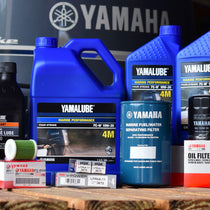
Maintaining your Yamaha outboard motor is crucial for extending its lifespan and ensuring it runs smoothly. One key maintenance task is flushing your Yamaha outboard motor to help remove salt, dirt, and debris that could damage your engine over time. Whether you’re a seasoned boater or new to a marine lifestyle, following these steps will ensure your marine engine remains in top condition.
Why Flush Your Yamaha Outboard Engine?
Saltwater and even freshwater environments can introduce harmful materials into your outboard engine’s cooling system. Flushing your Yamaha outboard motor helps to prevent corrosion and buildup that can lead to overheating and, ultimately, engine failure.
Yamaha Outboard Motor Flushing – Frequency and Timing
Regular flushing after each outing is recommended, especially if you navigate in saltwater. For freshwater adventurers, flushing every few outings may suffice. The best practice is to flush your engine as soon as possible after exposure to saltwater or after extended use in freshwater.

Tips on Preparing an Outboard for Use After a Season of Inactivity
After a sustained period of inactivity, preparing an outboard for a new season of use is vital. Running an engine at home before the first trip of the new season is a good idea to make sure the engine and its components are in good working order.
Whether you’re a seasoned boater or new to a marine lifestyle, following these steps—and using Yamaha outboard parts—will ensure your marine engine remains in top condition.
At-home motor flushing and preparation allow owners to drain antifreeze safely without contaminating local waterways. In addition, flushing the engine provides ample time to ensure that the impeller works correctly to create proper water pressure and that thermostats operate as needed.
Ultimately, pre-trip warm-up and prep time are designed to ensure that everything works as it should before an outing. They’re a good way to prevent ruining a big day out on the water. Spending a few minutes at home before a trip can save you hours of headache and frustration.
What’s the Value of Flush-M for Flushing Your Yamaha Outboard Engine?
Flush-M’s mission is to make outboard maintenance hassle-free. Specifically, they strive to make flushing easier after every outing so boaters are likelier to do it.
Yamaha does have one of the more straightforward OEM methods for flushing the engine; the team at Flush-M took it a few steps further.
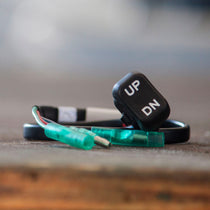
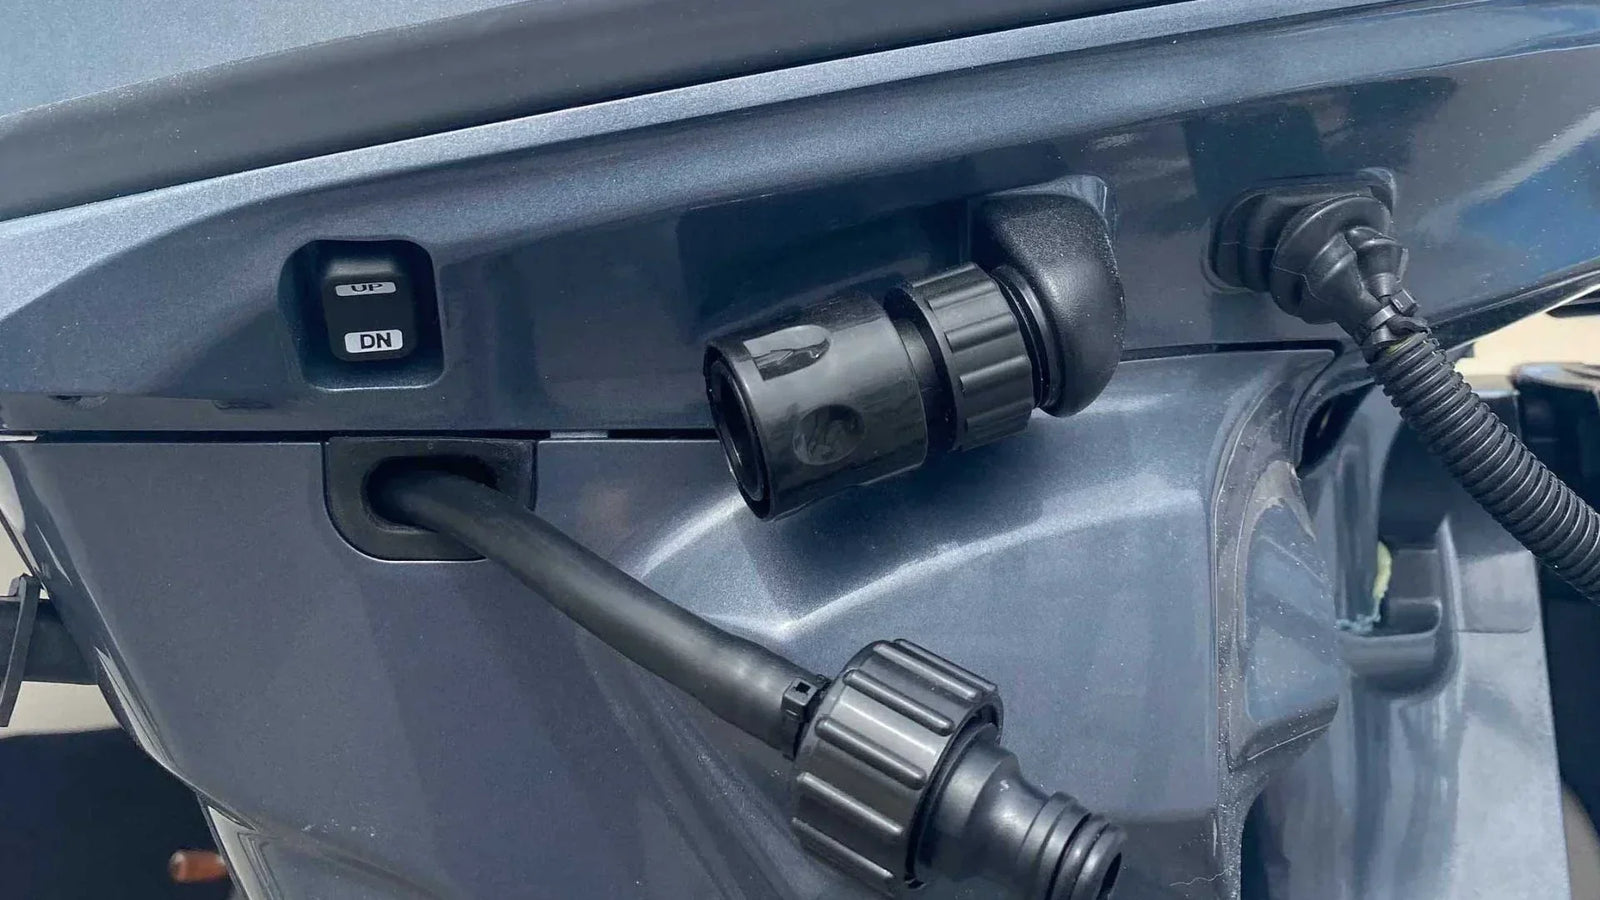
Once installed, the Flush-M Yamaha Outboard Flush Quick Connect allows users to connect their water source and begin flushing their Yamaha outboard quickly – in seconds. A few Flush-M Yamaha Outboard Flush Quick Connect value points include:
- The simplicity of Yamaha Outboard Flush Quick Connect is of particular value for tight-to-reach multi-engine boats. It is a more ergonomic approach than unscrewing the Yamaha OEM adapters and worrying about dropping O-rings into the water.
- The Flush-M Yamaha Outboard Flush Quick Connect’s built-in check valve restricts water flow unless hooked up to the engine. Boat owners don’t have to make repeated trips to the faucet to turn the water on and off or kink the hose with one hand while attempting to ready the flush port with the other
- The sleek black-on-black color scheme blends in seamlessly with the engine – it is barely noticeable
Installing a Flush-M Yamaha
Like all Flush-M models, installation of the Yamaha Flush-M is very much the same as the procedure your user manual describes: flushing the engine with a garden hose.
- Separate the OEM Yamaha flush port from its base by unscrewing it counter-clockwise until it is free.
- Securely screw the black male quick connect into the Yamaha flush port and the black female quick release onto the Yamaha base.
- Connect the two newly installed ends.
Flushing Your Yamaha Outboard Motor Using Flush-M
Your engine is now ready to be operated or flushed.
To flush, simply:
- Disconnect the male from the female Quick Connect and attach the male end to your water source utilizing the included red hose connector.
- Flush the engine for the recommended 15 minutes
- Re-connect the male back into the female upon completion
FAQs About Outboard Engine Flushing
Q: How often should I flush my outboard engine?
A: After every use in saltwater and every few uses in freshwater.
Q: Can I flush my engine without running it?
A: Yes, but warming up the engine first can enhance the flushing effectiveness.
Q: What if water doesn’t flow out during the flush?
A: Check for clogs in the flushing device or water intake and consult a professional if issues persist.