Yamaha small outboards are some of the most versatile, reliable, and long-lasting engines out there. It’s no wonder they're among the most popular brands of small outboards on the market today.
If you’ve just purchased a small Yamaha outboard for your boat, it's essential to understand how to set it up correctly, mount it, and get it going on the water.
Read on to discover what you need to know about small Yamaha outboard motors, including:
- Which Engines Are Portable Outboard Motors?
- Unboxing
- Placing and Mounting
- Pre-Start Check List
- Electric Start
- First Time Operation
- Engine Break-In
- Resources for Ongoing Maintenance
- Yamaha Small Outboards for Sale
Note: Understand that information provided in this article is for reference purposes only, as it is impossible to provide specific instructions for every conceivable application. If issues or questions arise, consult your local authorized Yamaha dealer.
Which Engines Are Portable Yamaha Outboard Motors?
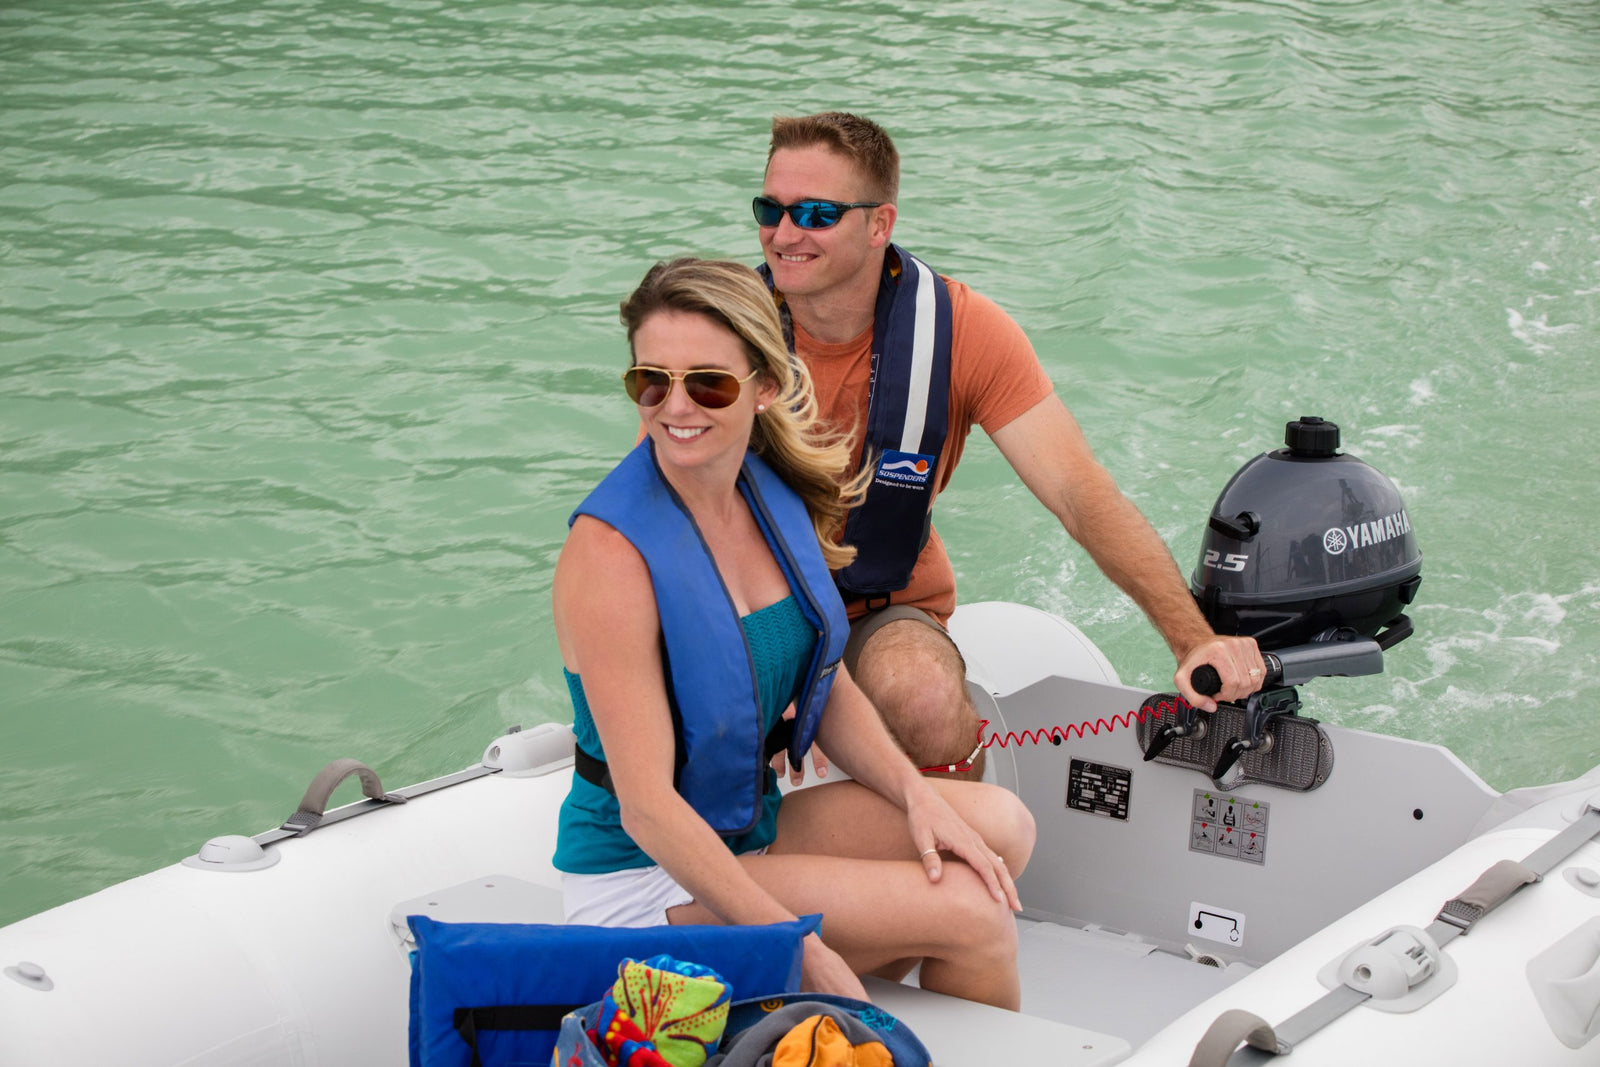
Yamaha small outboards or Yamaha portable outboard motors are engines 25hp and under, including:
Portable outboard motors are light and compact outboard motors. By design, they are ideal for a variety of applications:
- Aluminum fishing boats
- Pontoon boats
- Jon boats
- Utility boats
- Inflatables
- Skiffs
- And even sailboats when there isn’t enough wind
Yamaha leads the pack when it comes to the variety of portable outboards on the market. With cutting-edge and modern designs, you can choose from various Yamaha small outboard motors based on your unique horsepower and performance needs.
Before You Begin Unboxing, Mounting & Preparing for Initial Operations

See the Resources for Ongoing Maintenance of Your Yamaha Small Outboard section at the end of this article. Additionally, you will find a wealth of information in your owner’s manual related to your specific model. Finally, please watch Yamaha’s Portable Engine Customer Delivery video as it does an excellent job of walking you through all of the procedures described below.
Also, a failure to follow suggested guidelines in your owner’s manual may invalidate your warranty, so contact your local Yamaha dealer when in doubt.
- Thoroughly inspect the crate of your Yamaha small outboard.
- If there’s damage, stop and take pictures of any damage. Then, immediately contact the Yamaha dealer that sold you the engine.
- If the box is in good condition, the next step is to carefully cut and remove strapping with your scissors/box cutter.
- Remove the cardboard cover.
- Remove the plastic wrapping material surrounding the engine.
- If there’s damage, stop and take pictures of any damage. Then, immediately contact the Yamaha dealer that sold you the engine.
Yamaha Small Outboards Placing and Mounting
Once you’ve determined that your engine is in good condition, it’s time to place and mount your Yamaha small outboard. Proper placement and mounting of your engine are vital to your boat's safety, performance, and handling.
Preparing to mount the outboard
- If you're using a lifting device to hoist the engine, use the grab handles to tilt the engine. The top cowling should be above the lower unit.
- Remove the cowling to access the lifting eye.
- Check the owner’s manual for the location of the lifting eye depending on the model of portable Yamaha outboard you purchased.
- Your outboard’s weight can be found in the owner’s manual
- Properly connect the lifting device.
Securing the outboard to the transom
- First, find the center point before mounting the engine to the transom. To do so, measure across the transom and divide by two.
- Mark a vertical line at the halfway point with a grease pencil for mounting.
- Be aware that drain plugs are often NOT in the center of the transom, do not use this as a reference point.
- After you mark the centerline, but before you mount the engine, make sure that the boat is on land. Do not attempt to install the engine while the boat is in the water.
- The tiller handle should be in the UP position.
- Make sure the steering friction lever is moved to its LOCKED position
- See the owner’s manual for the location of the steering friction lever and how to operate it.
- Lift and hold the engine using the grab handles on the outboard.
- This procedure may require two people to lift. Use best practices when lifting to avoid injury.
- Do not drop, drag, or handle the outboard in a manner that may cause damage. Damage from improper handling may not be covered under warranty.
- Install the engine where the engine's centerline is in line with the boat's centerline on single-engine applications.
- If the engine is used as a "kicker" or as an accessory engine, install it according to your boat's manufacturer’s guidelines and specifications. Or, contact your local Yamaha authorized dealer for more information.
Warning: Loose clamp screws can cause the engine to move or fall off the transom
- In cases where the engine is being bolted to the boat, use only the hardware included with the outboard. If you are unclear on how to bolt your engine to your boat, including the proper torque specifications, contact your local Yamaha authorized dealer.
- If your engine is equipped with a restraint cable attachment point, it is recommended that a restraint cable be used. Not using a restraint cable could lead to the outboard being lost entirely if it accidentally falls off the transom.
- Attach one end of the restraint cable to the attachment point on the outboard and the other end to a solid and secure point on the boat.
Setting engine height
The engine height is vital to the proper performance of the engine. The engine height should be set to where the outboard’s anti-cavitation plate is 0 to 1 inch (0 to 25mm) below the bottom of the boat.
Warnings
- Improper Placement: Failure to properly place and mount your Yamaha outboard motor may result in negative outcomes that may not be covered by the warranty, including:
- Loss of performance
- Damage to the boat and/or outboard
- Poor or unsafe boat handling
- Loss of control resulting in serious injury or death
- Water Flow: Make sure nothing on the hull can disrupt the water flow of the engine. Disruption of water flow to the engine may cause loss of performance and/or loss of cooling water flow to the outboard. Loss of cooling water flow to the outboard while running may cause overheating, which can result in serious engine damage that may not be covered under warranty.
Pre-Start Checklist
Before starting your Yamaha small outboard, you’ll need to have some supplies on hand:
Required Supplies Needed
Optional Supplies
- Yamaclean All-Purpose Cleaner (to clean up any spills, oils, residue, or fingerprints)
- Yamalube Yamashield (corrosion inhibitor for the engine block and components under the cowling)
- Yamalube Fuel Stabilizer & Conditioner Plus (fuel additive that extends the life of your fuel and conditions the fuel system component)
- Yamalube Ring Free Plus (fuel additive that prevents carbon buildup on the internal engine parts)
Adding and Checking Engine Oil
Important: Your Yamaha outboard does not ship with engine oil in it. You MUST add engine oil before starting or running the engine.
Also, your Yamaha small outboard is shipped with a hang tag notifying you that the engine does not ship with oil. Once you add oil to the engine, remove the hangtag.
Here are some helpful tips to add the proper amount of oil to your Yamaha small outboard:
- For 4-stroke engines, there’s never a need to mix oil into the fuel.
- Only use Yamaha 4M engine oil (or equivalent marine FC-W engine oil that meets or exceeds Yamaha specifications). For reference, FC-W = Four Cycle - Water Cooled. You should not use engine oil that isn’t FC-W rated, such as automotive, motorcycle, power equipment, and diesel equipment oils.
- Only add the amount of oil called for on your engine’s information tag, which is typically a black and white sticker on the flywheel cover. More information about this can be found in your owner’s manual.
Checking your Engine Oil
- To check your engine oil, make sure the engine is tilted up for 5 minutes to allow any oil captured in the cylinders or passages to return to the oil pan. Then lower the engine to where it is level.
- Locate the engine oil dipstick and remove the engine oil dipstick.
The oil level should be between ⅓ to ½ way between the dot or checkered area on the dipstick. If it is higher, remove some of the engine oil and recheck. If it is lower or there’s no oil on the dipstick, add a small amount of engine oil and recheck. Wipe off the dipstick with a clean rag and reinsert to recheck your oil. Let the dipstick sit for 30 seconds, then remove and check again.
Warning
- Some models, like the F2.5, don't have a dipstick, only a sight glass.
- Failure to add enough engine oil or adding too much engine oil may result in severe engine damage that may not be covered under warranty.
- If there are any questions, contact your local Yamaha authorized dealer before attempting to run or start the engine.
Fueling Your Yamaha Small Outboard
Your Yamaha small outboard may have a built-in fuel tank, a remote fuel tank, or both. The following are best practices for fueling:
- If using a remote fuel tank, make sure the tank is clean, the hoses and primer bulb are in good condition, and that there are no kinks or leaks.
- Make sure to open the fuel tank vent when fueling.
- The arrow on the primer bulb should face the engine.
- Use non-ethanol fuel or ethanol fuel with no more than 10% ethanol content (fuel rated higher than E10, such as E15 - E85). See your owner’s manual for minimum octane and additional information regarding your engine’s fuel system.
- It’s recommended that you add Yamalube Fuel Stabilizer & Conditioner Plus and Yamalube Ring Free Plus to your fuel system every time you fill-up. This ensures that new fuel won't damage components and will provide the best performance.
- The use of old, contaminated, or improper fuel in your outboard can cause severe engine damage that the warranty may not cover.
- Use of improper, compromised, or contaminated fuel storage containers, fuel lines, primer bulbs, fuel connectors, or improper installation of any of said components can cause performance issues and/or severe engine damage that may not be covered under warranty.
- Fuel spills, fuel leaks, and fuel vapors pose serious safety threats that can include damage to the environment, property damage, serious injury, and/or death. Please handle and store fuel in a safe fashion, in approved containers, and in accordance with all local, state, and federal regulations.
Electric Start
Electric start is a feature built into several Yamaha small outboard models. The electric start feature allows you to get your motor going with the push of a button.
If your Yamaha small outboard engine is equipped with an electric start, you'll need a battery.
A battery is not included with your outboard. Refer to the owner's manual for instructions on installing, routing, and attaching your battery cables for your specific model.
The owner's manual will also discuss the minimum battery requirements needed for your engine. Contact your local Yamaha authorized dealer if you have questions about your battery, battery cables, or recharging system.
First Time Operation
Warning: Do not attempt to run or start your engine before completing all previous steps.
- Before starting your engine, make sure the engine is supplied with adequate cooling water. Outboard engines are not air-cooled, nor do they have closed cooling systems like automobiles. They must be supplied with cooling water, and the best way to do this is to launch the boat and start it in the water.
- Do not run the engine without adequate cooling water going to the engine. Loss or lack of cooling water flow to the outboard while running may cause overheating, resulting in serious engine damage that may not be covered under warranty.
- If any warning lights or alarms appear or sound during the initial setup, shut off the engine and do not attempt to continue running the engine. A warning light will appear red, and an audible alarm will only sound on F25 or T25 models equipped with a tiller handle. Contact your local Yamaha authorized dealer immediately to resolve any potential issues with your first-time operation.
Small Yamaha Outboards Engine Break-In
Your new Yamaha outboard engine has a 10-hour break-in period, which allows all of the mating surfaces on moving components to wear in correctly.
Break-in procedures are as follows:
- Hour 0 to 1: Operate the engine at varying speeds not to exceed 2000 RPMs or half throttle
- Hour 1 to 2: Operate the engine at an RPM that allows the boat to plane. Avoid wide-open throttle operation. Once the boat is on plane, reduce the engine speed to as slow as possible while keeping the boat on plane.
- Hour 2 to 10: Run the engine at any speed, avoid wide-open throttle operation for more than 5 minutes at a time.
- After 10 Hours: Run engine normally.
Your engine will likely be ready for its first service at the end of this break-in period. Consult your owner's manual for maintenance intervals specific to your engine model.
Resources for Ongoing Maintenance of Your Yamaha Small Outboard
Now that you’ve successfully prepared your new Yamaha outboard for years of reliable service, continue to reference your owner’s manual for any information you may need regarding your outboard.
Additionally, PartsVu also provides many Yamaha outboard information resources:
New Yamaha Owner’s Knowledge Center
Yamaha Outboards Maintenance Schedule
Yamaha Outboards Specs & Capacities Chart
Yamaha Outboard Engine Schematics
Yamaha 100-Hour Service Guides
Yamaha Small Outboards for Sale
PartsVu carries select small Yamaha outboard motors. Explore our selection and contact us if we can answer questions or help in selecting the best model for your needs.


